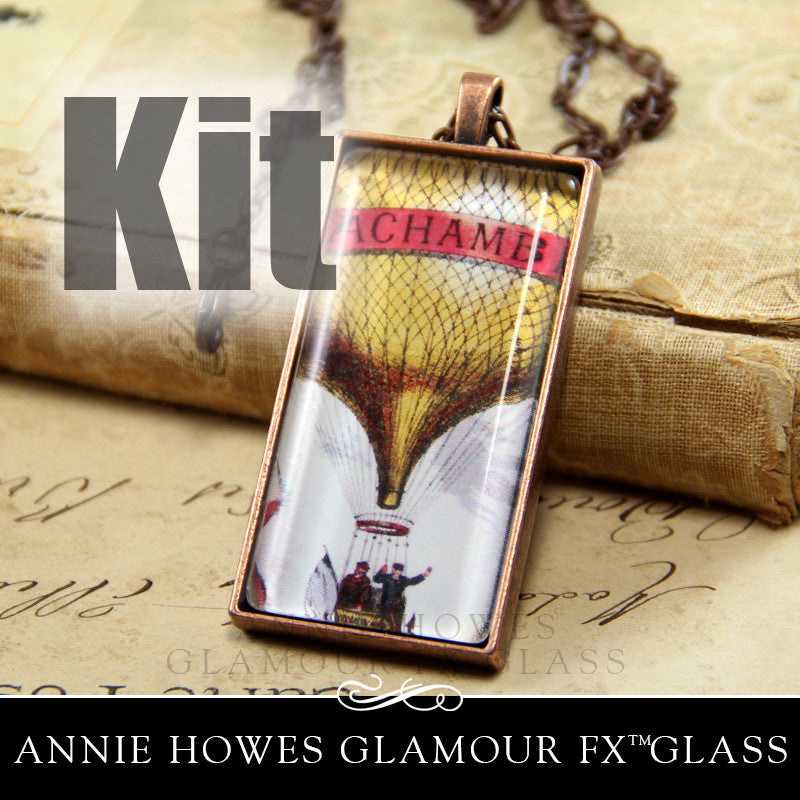
Glass & Pendant Tray Necklace Kit - 1 x 2 Rectangle
anniehowes
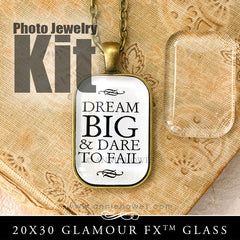
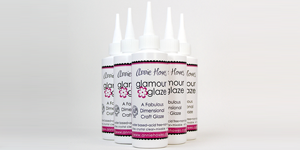
Make beautiful rectangle glass pendant necklaces with your inkjet or laser prints. Everything you need to make Glass Pendants is in this kit: the Glamour FX Glass, the pendant trays, Glamour Seal, and the ball chains. All you need to add are the images.
Color Options:
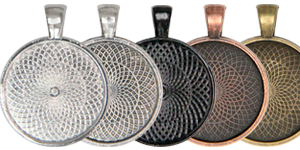
Silver
Vintage Silver
Vintage Copper
Vintage Gold
Black
The glass pendant kit includes:
Glamour FX Glass, 1" x 2" rectangle* (Glass for the Black settings is 24x48mm)
Pendant Trays,1" 1" x 2" rectangle* (Black settings are 24x48mm)
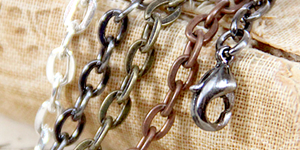
24" Matching Chains (2.0mm)
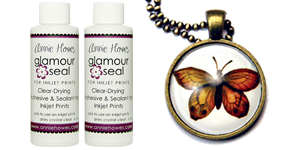
Glamour Seal
FREE full color Instructions available in pdf format.
HOW TO MAKE A GLASS PENDANT
Use any paper you like, including ink jet prints.
Step 1: Attach the Glamour FX glass to the paper using Glamour Seal and allow to dry.
Step 2: Glue into the pendant tray using Glamour Seal and let dry.
Step 3: Throw your hands up in the air...you're finished!
The instructions can also be found in PDF format on the Annie Howes Tutorial Page.
GLAMOUR SEAL INSTRUCTIONS
Glamour Seal can be used on many paper types. When using your own prints, you can print from either an inkjet printer or a color laser printer. The paper you choose is important, so please read the following carefully.
Glamour Seal is best used on matte paper, 90# or cover weight. Not recommended for regular printer paper, glossy paper, and lab prints, such as those provided by photo processing centers. Glamour Seal works great on decorative papers such as Chiyogami, Italian, and scrapbook papers. The paper with the best results when I tested using a Canon inkjet printer was the Epson Presentation Paper (matte).
PAPER EXCEPTION: If you are using Glamour Seal to seal inkjet prints that will not be pressed to glass (ie. Bottle caps that will be coated with Luxe Resin, or in other projects that will use Luxe resin, such as pendant trays, then glossy paper is an acceptable paper to use.
INKJET EXCEPTION: If your inkjet printer uses a combination of pigment black and dye color inks, Glamour Seal will work to glue the paper to the glass, however you may wish to use Glamour Stickies to glue the decorated glass into the setting.
When making glass pendants, brush Glamour Seal onto the glass using a paint brush and coat the surface entirely. Press to paper and hold firmly for a few seconds until the Glamour Seal starts to bind. Use this time to work out any trapped air between the glass and paper. Allow to dry paper side up for at least 5 minutes before proceeding to the next step.
Once the first application of Glamour Seal is dry, then apply a small amount to the back of the paper and press into the pendant tray.
When using with LUXE RESIN, apply a small amount to the back of the paper and press into the pendant tray. Allow to dry at least 30 minutes before proceeding to the next step.
When the first application is thoroughly dry, apply a generous coating to the exposed paper. Make sure the entire paper is covered paying close attention to the edges of the paper. You are creating a barrier between the paper and the Luxe resin. Failing to do so will result in dark spots which is where the resin came into direct contact with the paper. If you are unsure if one coat will be sufficient, then apply a second coat after the first coat is dry.
TROUBLESHOOTING:
Problem: The Glamour Seal is still white and drying slowly.
Answer 1: You did not use the proper paper type. Glamour Seal is best used on matte paper, 90# or cover weight. Not recommended for regular printer paper, glossy paper, and lab prints, such as those provided by photo processing centers. Glamour Seal works great on decorative papers such as Chiyogami, Italian, and scrapbook papers. The paper with the best results when I tested using a Canon inkjet printer was the Epson Presentation Paper (matte). The exception to this is when sealing paper prior to using Luxe Resin, and glossy paper is OK.
Answer 2: You did not allow the Glamour Seal to dry before moving to the next step. You must allow the product to dry thoroughly otherwise you lengthen the drying time significantly.
Problem: The ink from my inkjet print is smearing.
Answer 1: This is possibly because the ink was not dry to begin with. The prints from inkjet printers must dry before using them in any application. If the ink smears when you touch it, allow it to dry until the ink does not smear to the touch. Please check with your printer manufacturer to determine the drying time of the prints.
Answer 2: Discoloration can occur if your inkjet printer uses a combination of black pigment based ink and color dye based inks. Please see the INKJET EXCEPTION in the product description.
Problem: Excessive bubbles/frothing is occurring.
Answer: This is typically caused by photo papers that are marketed as "fast-drying" or "quick-drying", most commonly found on glossy papers. These papers are coated with a film that bubbles profusely when in contact with any liquid. Avoid using these papers.
Because this item contains Glamour Seal, this product ships with a package warmer during cold weather. Glamour Seal is cold-sensitive and should not freeze.


