How to Make Photo Jewelry With Resin - Coating
How to Make Resin Pendant Jewelry - Coating Method


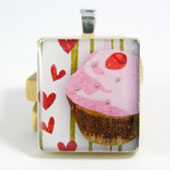


It's easy to make beautiful jewelry with Luxe Resin! Resin makes your surfaces waterproof for a long lasting piece. It’s easy and simple and I want everyone to be able to enjoy working with this medium.
Prepare your workspace. Your workspace should be clean and well-ventilated. If you are running a fan, be sure it’s not pointed toward you or your work because it will blow lint into your resin. Point the fan away from your work.
Cover your work table with newspaper or other papers. Resin may damage the surface of your workspace, so please protect it.
When Luxe Resin is mixed, it has only about 1 hour of working time. Once mixed, it cannot be stored. It has a minimum volume that must be mixed, and I recommend making all the pendants in the kit at one time, so plan accordingly.
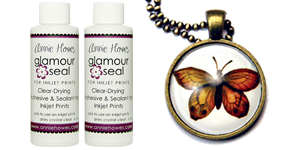
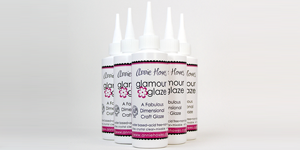
Using Glamour Seal, glue the paper into the wood piece, making sure there is no air under the paper. Allow to dry, then completely cover the entire piece of paper with more Glamour Seal. No paper should be exposed. Pay special attention to the sides of the paper where you trimmed it. Allow to dry. It will look rough and hazy when dry, and this is normal.
Luxe resin mixes best at warmer temps, around 85 degrees F. Do not heat the hardener before mixing.
Once the Glamour Seal has dried, mix equal parts of Luxe Resin A&B and gently stir until the resin is clear. It’s OK to add a little more of the hardener, but not the resin. This should only take a few minutes. Avoid agitating too aggressively as this will create bubbles. The smaller the bubbles, the more difficult they are to remove.
IMPORTANT!
Once thoroughly mixed, throw out the stir stick without scraping off the excess resin. Pour the mixed resin into a clean cup without scraping the sides of the cup. If you do not follow these steps, your resin may not cure properly. It’s better to “waste” a little resin than to ruin the entire project.
Make sure your pendant is level. Resin will want to move to the lowest point, so an uneven surface could produce a problem.
Using the fresh clean stir stick, apply Luxe Resin by the drop into the prepared paper surface. Use a toohpick to coax the resin into the corners or sides of the pendant. Do not apply too much (more than a couple of drops for a Scrabble tile), or the resin will run off the edges. This is when you can add your micro glass beads. Position them with the toothpick.
If there are bubbles, you can coax them out with the tooth pick, or brush the surface of the uncured resin with the flame of a lighter. I don’t recommend using matches because they are sooty.
Luxe can be cured overnight at room temperature, or may be baked. The cure times when baking are as follows:
6 hours at 95F
3 hours at 120F
1 hour at 150F
Do not exceed 150F
Once the Luxe Resin is thoroughly cured, apply a dab of E-6000 to the glue pad bail and press to the back of the wood piece. Allow 24 hours for the E-6000 to dry.
You can also find our two-part Luxe Resin tutorial on YouTube.
Luxe Resin tutorial Part I
Luxe Resin tutorial Part II


